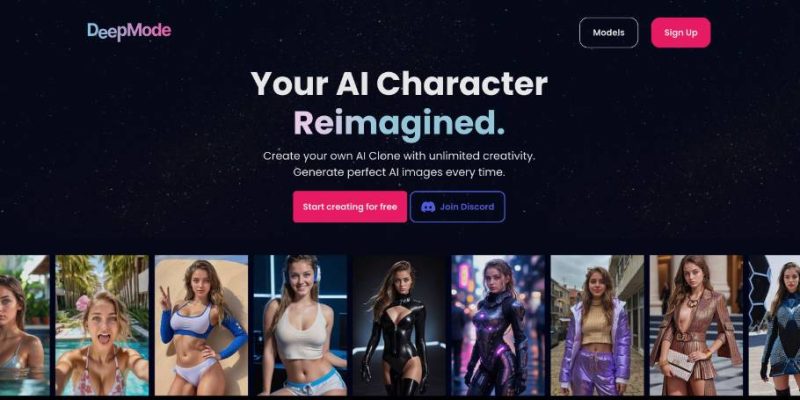
Deepmode Review and Features – What to Know?
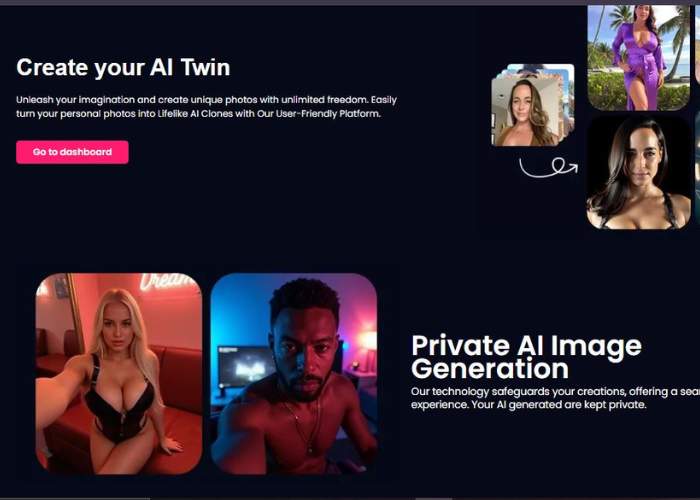
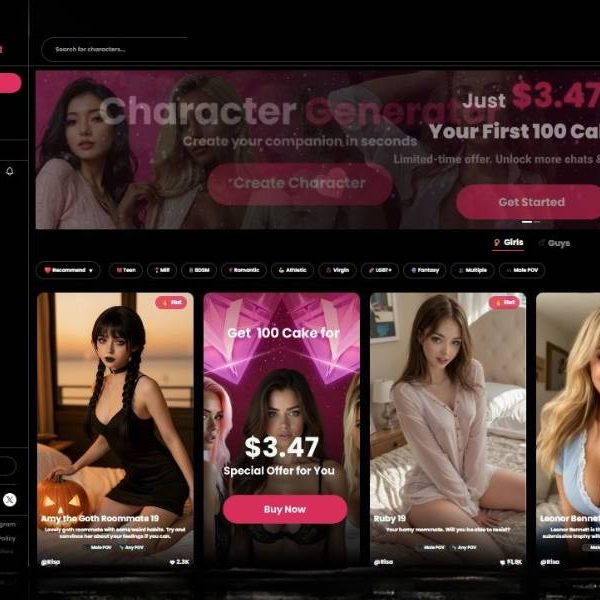
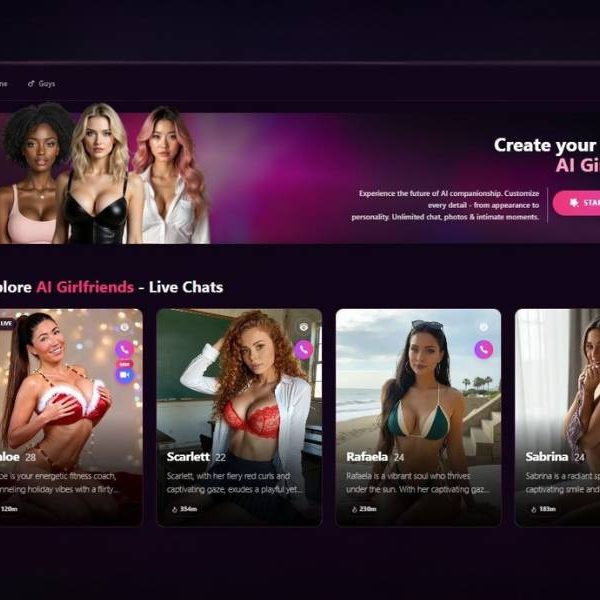
DeepMode is a generative AI platform where you can create your own AI clone or digital character and generate lifelike (or stylized) images from them. Think virtual avatars, personal AI personas, or creative experiments—whether realistic or anime‑style.
It supports private generation, expressive styling, and even NSFW content when enabled. Its tagline hints at turning selfies into sci‑fi portraits or fantasy avatars without needing to be a technical genius.
Visit Deepmode AIHow Does It Work?
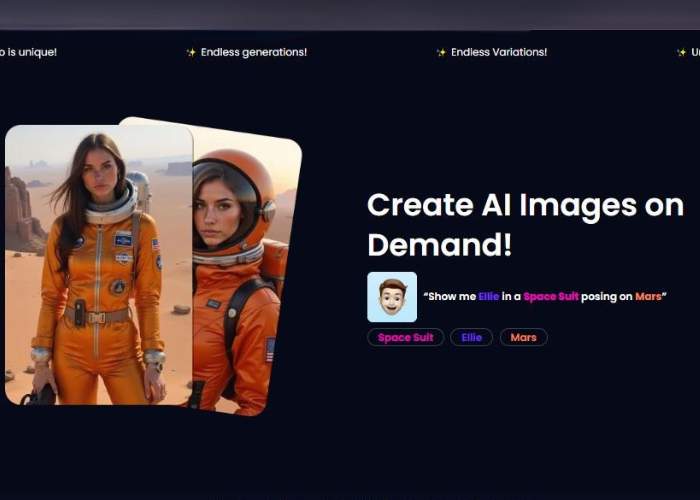
You upload a few photos (or choose prebuilt character templates), train your model, and then ask the AI to generate scenes—like “Ellie on Mars in a space suit” or “anime witch with glowing eyes.”
You get back high‑resolution images in seconds. Want expression changes or outfit tweaks? You can iterate until it matches your vision. It runs on a credit‑based system—purchase credits, spend them per image or training task.
Here is a detailed guide of how to create your AI Girlfriend wit Deepmode:
Step 1 — Choose how you’ll create your character
Screen: “Create Your AI Character” (DeepMode header)
You’ll see two big options:
- Design with MagikFace – a prefab/parametric route (no training needed).
- Train with your images – the custom route that teaches the model from photos you provide.
For a unique AI girlfriend that looks consistent across images and videos, pick Train with your images.
Step 2 — Open your Private Models
Screen: “Private Models”
You get a private area to manage your creations.
- Train a new model → Get Started: starts a brand-new training job.
- Search your models…: find a model you trained earlier to generate more media.
Click Get Started.
Step 3 — Pick the model type (credits & capabilities)
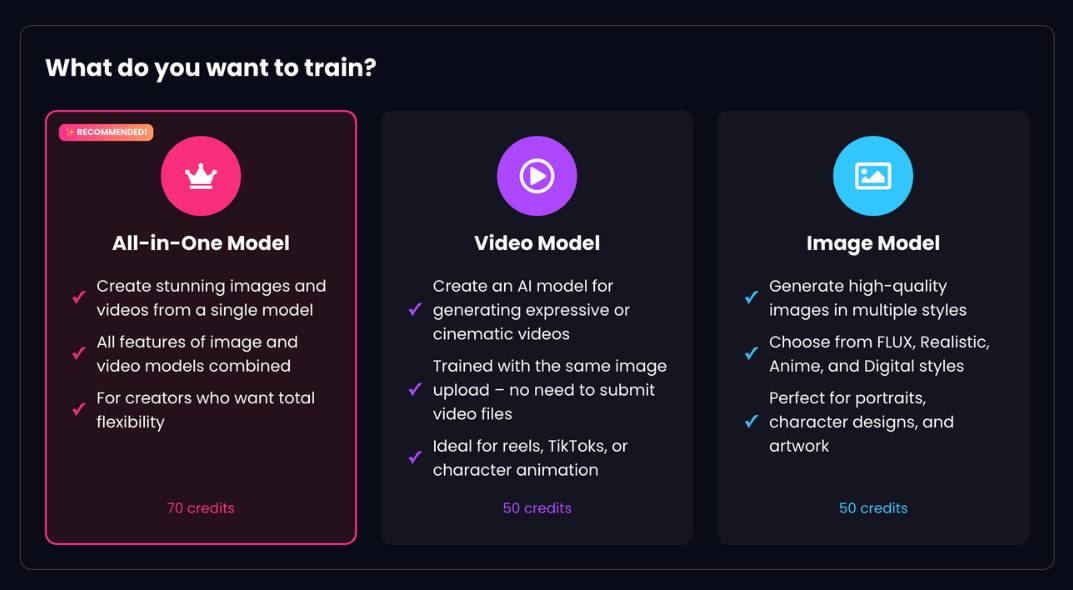
Screen: “What do you want to train?”
You have three cards:
- All-in-One Model (Recommended) — 70 credits
- Generates both images and videos from a single model.
- Combines the features of image and video models.
- Best choice for creators who want maximum flexibility (ideal for an AI girlfriend).
- Video Model — 50 credits
- Optimized for expressive/cinematic videos (reels, TikToks, character animation).
- Trained from the same image upload; you don’t have to upload video files.
- Image Model — 50 credits
- Generates high-quality images in styles like FLUX, Realistic, Anime, Digital.
If you want both photos and clips from the same persona, select All-in-One Model.
Step 4 — Decide to create new or upgrade
Screen: “All-in-One Model Option”
- Create new all-in-one model (selected by default)
Start from scratch with new training images (supports images & videos). - Upgrade existing video model
Convert a video-only model you already trained into an all-in-one model.
First-timers should keep Create new all-in-one model selected.
Step 5 — Name the model & set gender
Screen: “Model Name / Gender”
- Model Name: A free-text field (e.g., Ariana Nova, Mira V2). Use something memorable; this is how you’ll find it later.
- Gender: Radio buttons Female / Male (Female is selected in your screenshot).
Tip: If you plan multiple versions, add a short tag (e.g., “V1-Realistic”, “V2-Anime”).
Step 6 — Upload your training photos (quality matters!)
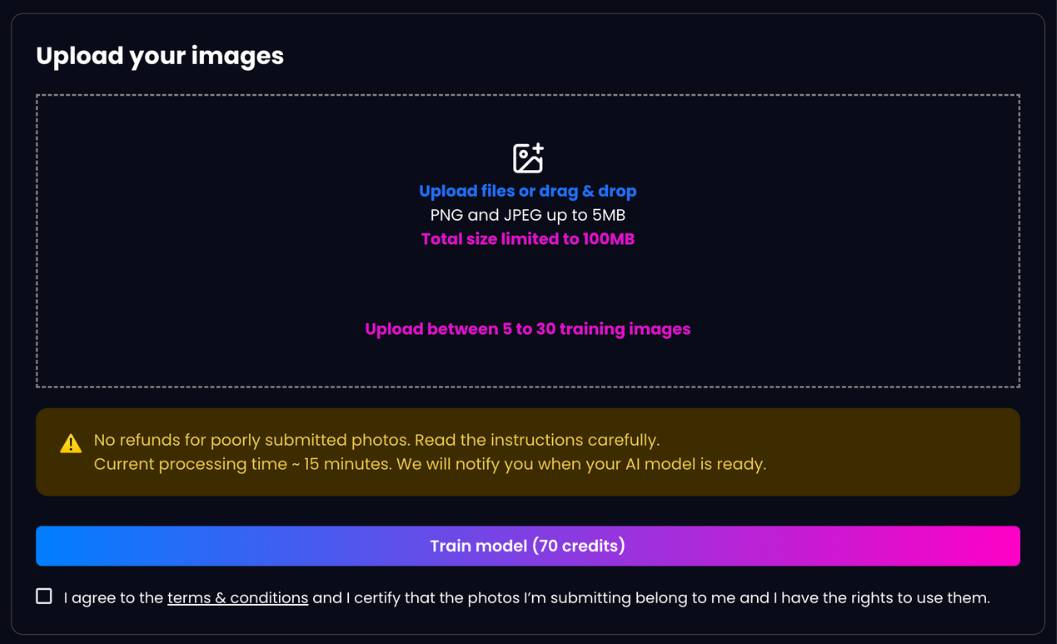
Screen: “Upload your images”
The upload panel shows all the constraints and actions:
- Drag & drop or click to upload.
- Accepted formats: PNG and JPEG.
- Per-file limit: up to 5 MB.
- Total upload size: up to 100 MB.
- Required count: between 5 and 30 training images.
- Notice: “No refunds for poorly submitted photos. Read the instructions carefully.”
- Processing time banner: shows an estimated processing time (e.g., ~15 minutes).
- Checkbox: “I agree to the terms & conditions and I certify that the photos I’m submitting belong to me and I have the rights to use them.” (must be ticked)
- Action button: Train model (70 credits) (amount matches the All-in-One choice).
Pro tips for a great dataset
- Use high-quality, well-lit portraits: sharp focus, natural light beats heavy filters.
- Diversity wins: multiple angles (front/¾/profile), expressions, distances (close-ups + upper body), a couple of full-body shots if you want full-body generations later.
- Consistent subject: keep it the same person throughout the set.
- Background variety: mild variety helps generalization (different rooms, simple outdoor).
- Avoid occlusions: no sunglasses/large hats covering the face in most shots.
- No heavy makeup/AI filters in every photo—mix natural with styled looks.
- Rights & consent: only upload images you own and are legally allowed to use.
Tick the terms box, then click Train model.
Step 7 — Explore public models (optional)
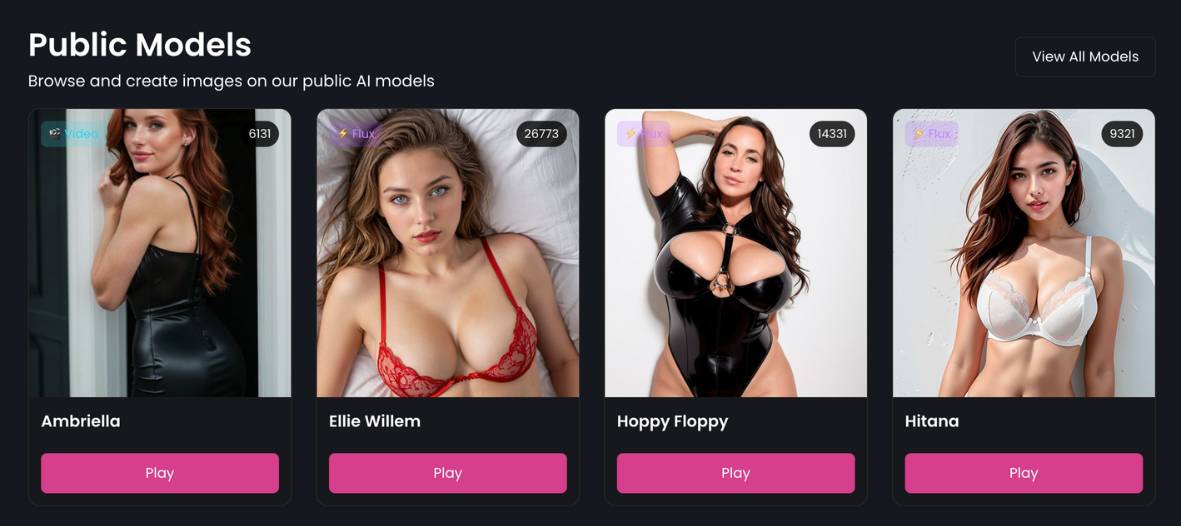
Screen: “Public Models”
Even while (or before) training, you can browse public AI models to get a feel for prompts and outputs:
- Each card shows a thumbnail, a name (e.g., Ambriella, Ellie Willem, Hoppy Floppy, Hitana), a style badge (e.g., Flux), and a use count (e.g., 26,773).
- Play opens the model to generate images.
- View All Models lists the full gallery.
Use this to test prompts, styles, or inspiration. Your private model will appear in your Private Models area once training finishes.
After training: generating content (what to expect)
Once your model is ready (you’ll see it under Private Models), you can:
- Generate Images: Choose style engines (e.g., FLUX/Realistic/Anime/Digital if those are offered), write prompts, and create portraits, scenes, or themed shoots.
- Generate Videos (for All-in-One or Video models): Type short cinematic prompts or use templates for reels/TikToks.
- Iterate: If you see drift (face inconsistency), add 5–10 better images and retrain a V2 using the same name with a version tag.
Prompting basics for consistent results
- Identity anchor: Begin with a short identifier (e.g., “Ariana Nova, 25, auburn hair, green eyes”) to lock features.
- Scene details: Then add environment, outfit, mood, and camera terms (“soft window light, 85mm, shallow depth of field”).
- Negative prompts: If supported, list what to avoid (“blurry, extra fingers, duplicate face”).
- Seed & guidance: If the UI exposes them, reuse the same seed for reproducibility and keep guidance at a moderate level to balance creativity vs. fidelity.
Quick checklist (so you don’t miss a step)
- Train with your images → Get Started (Private Models).
- Choose All-in-One Model (70 credits) for images + videos.
- Create new all-in-one model (not upgrade).
- Enter Model Name and Gender.
- Upload 5–30 PNG/JPEGs (≤5 MB each, ≤100 MB total).
- Tick terms & conditions confirming rights to the photos.
- Click Train model. When it appears in Private Models, open it and generate.
Troubleshooting & tips
- Upload fails: Check file type (PNG/JPEG) and size limits; compress images if needed.
- Poor likeness: Add higher-resolution, front-facing portraits and retrain; reduce heavy filters; ensure the dataset is only one person.
- Over-fit look (same pose every time): Add more angle/lighting variety; include a couple of wider shots.
- Can’t make videos: Confirm you trained All-in-One or Video model; Image-only models don’t output video.
- Credits: Make sure your account balance covers the model type (70 for All-in-One; 50 for Image/Video per the screen you shared).
Pros and Cons
| 👍 Pros | 👎 Cons |
| Super creative freedom with clone training | Few user reviews—limited trust data |
| Supports both realistic and stylized art styles | Hard to identify a clear everyday use case |
| Fast image generation (~2 seconds) and training | Limited community feedback and inconsistent support |
| Private generation (your images aren’t shared) | No video output—image only |
Core Functionalities:
- AI clone model training from user-uploaded photos
- Private, on-demand image generation in multiple styles
- Facial expression editing and outfit customization
- High-resolution output, cloud-based, secure workflow
Key Features
- Clone your own avatar from real pictures or templates
- Choose image style: photorealistic, anime, digital art
- Customize expressions, clothing, and pose consistency
- Safe, private generation—your data stays yours
- Credit‑based pricing with flexible plans
- No official video or animation support yet
Step‑by‑Step: How to Use DeepMode
- Go to deepmode.com and sign up or log in
- Upload a few clear photos or pick a character template
- Train your clone model (not instant—takes a few minutes)
- Enter a prompt like: “Character standing in a neon cityscape”
- Preview, refine facial expression or outfit if needed
- Generate one or multiple high-res images (credits are spent per image)
- Download, save, or batch-generate more scenes
- Refill credits when needed or unlock volume pricing for bigger usage
FAQs
Is DeepMode free?
You get initial free credits to test it out. After that you buy credit packs—like 50 credits for $9.99, or 500 credits for a bulk discount. No monthly commitments
Can I generate videos?
Not yet. DeepMode is image-only. If you want short animated clips or video, you’ll need another tool.
Is it safe and legitimate?
Yes. According to independent scans the domain has a 100/100 trustworthiness rating. It’s been active since around 2010 and uses secure Cloudflare hosting.
Is the output unique each time?
Yes—but you might notice similar styling if you use the same prompt. Still, variations feel fresh and surprising.
Who should use it?
Creators, digital artists, marketers experimenting with avatar branding, or anyone wanting stylized AI visuals (especially adult-friendly users). Not ideal for high-stakes commercial or video workflows yet.
My Verdict
I dove into DeepMode expecting another flashy AI toy. But I came away thinking it’s a neat visual playground—clean interface, fast output, and surprisingly customizable freedom.
Trained my clone once; the next thing I knew, I was making sci‑fi posters and anime portraits before coffee.
That said, there’s a bit of a “now what?” vibe if you’re not sure why you’re using it beyond fun. One reviewer said it well: “It’s fun watching it work, but to what end?”.
That summed up my first thought too. Its power lies in creative exploration more than enterprise functionality.
Support seems minimal—few user voices, and only one G2 review—which makes me wary for long-term reliance. And there’s no video or animation yet, so if your pipeline needs motion, you’ll be hopping around.
Final Thoughts
DeepMode is imaginative, quick, and artist-accessible. It’s a solid pick for experimental creators who want consistent character visuals or personal avatars—without wrestling with complex AI code.
If you’re chasing polished video tools or enterprise-grade features you’ll probably hit limits fast.
Would I use it as the backbone of a content pipeline? Not yet. But as a sidekick for creative self-expression, visual brainstorming, or character branding? Definitely.
In short—it’s a promising niche tool peeking at big potential. Try it with the free credits, and let your inner artist take a test drive.
